Aadhaar Update Status by URN
After you submit an Aadhaar update, the waiting can feel longer than the update itself. This guide explains, in plain English, how to check your Aadhaar update status by URN, what URN means, where to find it, and what to do if your update stays pending for a long time.
This is an independent guide. It is not the official UIDAI website, and this site does not collect your Aadhaar number, URN, password, or one-time code. Use only the official myAadhaar portal to check a status.
What is URN?
URN stands for Update Request Number. It is the reference given on the acknowledgement after you submit an update. In other words, when your update request is accepted, you receive an acknowledgement, and that acknowledgement carries your URN.
Think of the URN as your update’s receipt number. It does not replace your Aadhaar number, and it is not a password. It simply lets the official system find that one update request when you check its progress.
Where to find your URN
You will find your URN on the acknowledgement slip or receipt given after submitting the update. Keep that slip safe until the update is finished. If you submitted the update at a centre, the slip is the paper acknowledgement from that visit. If you submitted it online, keep the acknowledgement shown or sent to you after submission.
If you cannot find the slip, check first whether you saved a copy, a photograph, or a message about the submission. Do not share the slip, or a photograph of it, with unofficial helpers or on social media.
How to check Aadhaar update status by URN
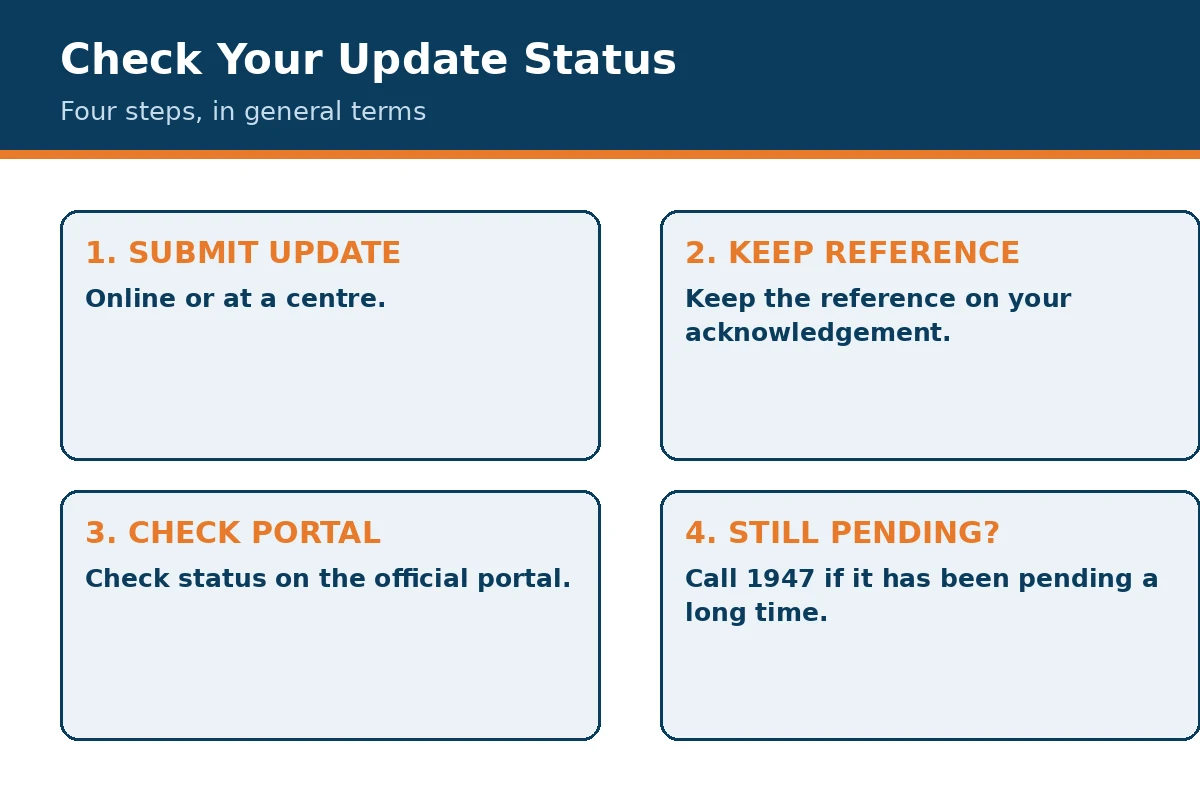
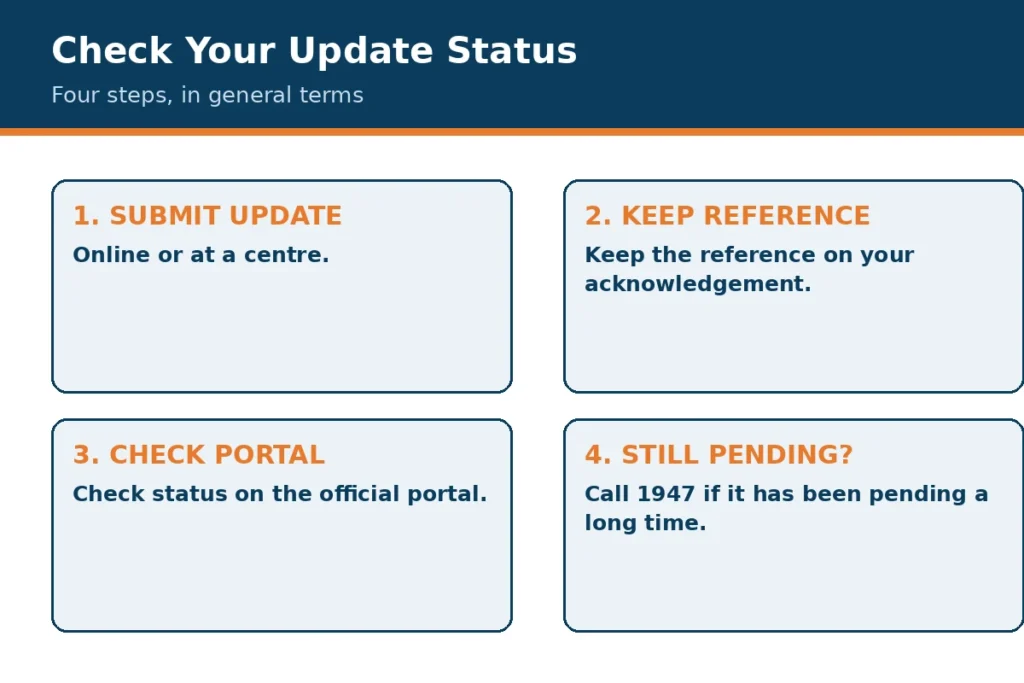
Checking the status is an online step, using the official myAadhaar portal. In general terms:
- Open the official myAadhaar portal from the link on our homepage.
- Go to the option for checking the status of an update request.
- Use the reference from your acknowledgement, your URN, as the portal asks for it, to look up that request.
- Read the status shown for that request, and note whether it is still being processed or has been completed.
This guide keeps the portal steps general on purpose, because the exact layout of the official portal can change. The principle stays the same: the acknowledgement reference is what links you to your update.
What the status means
- Still in progress: the update has been received but has not finished yet. This is normal for a time after submission, so check again after a few days.
- Completed: the update has been processed. Download a fresh copy to confirm that the corrected details are now shown.
- Not found or unclear: check the reference carefully against your acknowledgement slip, and try again. A single wrong character can stop the lookup from matching your request.
Do not submit the same update again just because the status is still in progress. A duplicate request can cause confusion and delay. Wait, check again, and only take further action if the update has been pending for an unusually long time.
Which updates are online, and which need a centre visit?
Not every update follows the same route. In general:
- Online, in general: an address update can usually be done through the official portal, with supporting documents as the portal requires.
- At a centre, in person: biometric updates, such as fingerprints, iris details, and photograph, need a centre visit, because they must be captured in person.
- At a centre, in general: updates that need documents to be checked in person, or where the online route is not available for that detail, are also centre tasks.
If you are unsure which route applies to your change, start with the official portal and the centre information on our homepage, rather than trusting an unofficial agent.
If your update has been pending for a long time
- Check the status again with your URN, to confirm it is still pending and not completed.
- Check that the acknowledgement slip matches the request you are checking.
- If the update remains pending for a long time, call the UIDAI helpline on 1947 for help. Have your acknowledgement details ready when you call, but never share a password or one-time code with anyone, including someone claiming to be from support.
- If you are advised to visit a centre, take your acknowledgement slip and the documents for that update with you.
Fees to know
At an enrolment centre, a demographic update costs Rs 100, including taxes, and a demographic update together with a biometric update also costs Rs 100, including taxes, according to UIDAI’s official enrolment and update information. An online demographic update costs Rs 50, including GST, on the same UIDAI page. Last checked on UIDAI: 3 November 2026. See the official UIDAI enrolment and update page, and the full fee table on our homepage. Fees can change, so check the official page before you pay.
Keeping your update safe
- Keep your acknowledgement slip until the update is complete.
- Check status only on the official myAadhaar portal.
- Never share your URN, Aadhaar number, password, or one-time code to get a status checked by someone else.
- Download a fresh copy after a completed update, to confirm the change.
Related guides
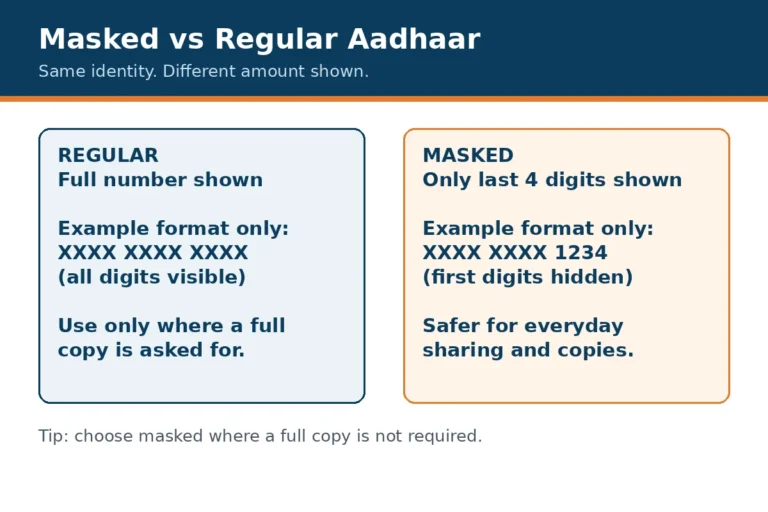
For a safer copy to share, read Masked Aadhaar Download. For a child under five, read Baal Aadhaar Under 5. Start from the homepage for the full overview.
2 Comments